How to Remove Ice Dams From Your Roof
Ice dams can pose a significant threat to the integrity of your roof, leading to potential water damage and structural issues if left unaddressed. Toledo roofing contractors emphasize the importance of understanding the root causes of ice dams and the necessary tools and techniques for safe removal. This knowledge is crucial for homeowners facing this winter phenomenon. However, there is more to the process than eliminating the immediate issue; preventing future ice dams requires a proactive approach beyond quick fixes. Stay tuned to discover effective strategies for safeguarding your roof against ice dams and ensuring a secure and worry-free winter season.
Understanding Ice Dams
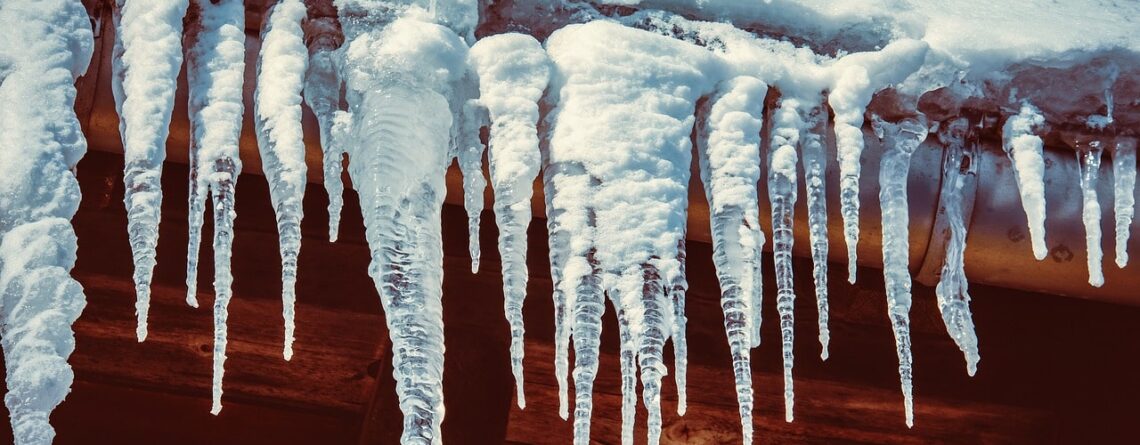
Ice dams develop along the roof’s edge due to the uneven melting and refreezing of snow and ice. These dams can prevent proper drainage of melting snow, leading to water seepage and potential damage to the roof and interior of the house. Regular roof maintenance is crucial to avoid damage. Maintain unobstructed gutters and downspouts to ensure effective water drainage. Adequate attic insulation and ventilation can also help regulate roof temperature, reducing the likelihood of ice dam formation. Additionally, sealing air leaks and ensuring a consistent indoor temperature can further prevent ice dams from forming and safeguard your roof against potential harm.
Necessary Tools and Equipment
When preparing to remove ice dams from your roof, gathering the necessary tools and equipment is essential to ensure a safe and effective process. To protect your roof and effectively tackle ice dams, consider the following items:
- Roof Protection: Consider purchasing a roof rake equipped with a telescopic handle to safely eliminate snow from the roof’s edge without causing harm to the shingles, thereby reducing the risk of ice dam formation.
- Deicing Solutions: Purchase calcium chloride or an ice melt product designed for roofs. Avoid using rock salt as it can corrode the roof and harm nearby vegetation.
- Safety Gear: Equip yourself with safety harnesses, non-slip boots, and a sturdy ladder to navigate icy conditions and work safely at heights.
Safe Ice Dam Removal Techniques
Utilizing proven methods and techniques, safely removing ice dams from your roof is crucial to preventing potential damage and ensuring the structural integrity of your home. When tackling ice dams, it is essential to prioritize roof protection to avoid any further issues. One safe technique is to use a roof rake to carefully remove snow from the bottom edge of the roof to prevent ice dams from forming. Additionally, creating channels through the ice dam to allow water to drain can help alleviate the pressure on your roof. It is essential to address ice dams promptly to mitigate winter hazards such as leaks and structural damage. By employing safe removal techniques, you can safeguard your home from the detrimental effects of ice dams.
Preventing Future Ice Dams
To prevent the recurrence of ice dams on your roof, it is imperative to implement proactive measures that address the root causes of ice dam formation. Here are vital steps to prevent future ice dams:
- Roof Insulation: Ensure your attic has sufficient insulation to prevent heat from escaping, thereby preventing uneven snow from melting on the roof.
- Gutter Maintenance: To allow proper drainage, keep gutters clear of debris. Clogged gutters can lead to water backup, contributing to ice dam formation.
- Ventilation Improvement: Enhance attic ventilation to maintain a consistent roof temperature and prevent snow from melting and refreezing. Proper ventilation helps regulate the temperature on the roof, reducing the likelihood of ice dams forming.
Professional Help and Maintenance
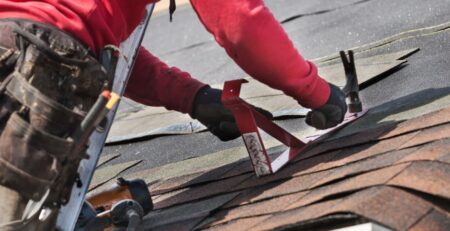
Seeking professional assistance and scheduling regular maintenance can significantly aid in preventing ice dam formation and ensuring the longevity of your roof’s integrity. While some homeowners may opt for DIY solutions, such as using heated cables or roof rakes, these methods may only sometimes be effective or safe. Professionals possess the expertise and specialized equipment to remove ice dams safely without causing damage to the roof. In addition to addressing existing ice dams, regular seasonal maintenance by professionals can help identify and rectify any underlying issues contributing to ice dam formation, such as inadequate insulation or ventilation. By investing in professional help and prioritizing seasonal maintenance, homeowners can proactively protect their roofs from the damaging effects of ice dams.

