How to Install Gutters in 12 Steps
Proper gutter installation isn’t just about keeping water off your walls; it’s about protecting your home’s foundation, roof structure, siding, and landscaping for years to come. Over the years, we’ve seen countless homes suffer from premature rot, mould growth, and basement flooding, all because of poorly installed or neglected gutter systems.
In this guide, we’ll walk you through the exact 12-step process professionals use to install gutters the right way, clean, efficient, and built to last, whether you’re a DIY enthusiast or a homeowner conducting due diligence before hiring a professional.
Tools & Materials You’ll Need

Before we begin, here’s what you’ll need:
● Gutter sections (aluminium or vinyl)
● Downspouts & elbows
● Gutter hangers or brackets
● Screws (preferably self-tapping)
● Measuring tape, level, chalk line
● Drill, tin snips, or a hacksaw
● Gutter sealant
● Ladder (with stabiliser if possible)
● Safety gloves and eyewear
Technical Considerations for Long-Term Performance
Gutter Materials: What to Choose
Aluminium is preferred for its balance of durability, weight, and resistance to corrosion. Vinyl is more affordable but brittle in cold climates. Copper is premium and long-lasting, but costly.
Gutter Sizes: 5″ vs. 6″
Standard residential homes use 5-inch gutters. Large roofs or homes in heavy rainfall areas benefit from 6-inch systems, which carry more water and reduce overflow risk.
Downspout Sizing & Flow Rates
Use 2×3″ downspouts for standard 5″ gutters, and 3×4″ downspouts for 6″ gutters. Proper sizing prevents clogs and ensures rapid water discharge.
Slope vs. Level Appearance
Professionally installed gutters often look level from the ground, even though they are slightly sloped. This is achieved by a consistent slope across long runs with precise measurements.
Fastener Types: Screws Over Nails
Use corrosion-resistant, self-piercing screws. Avoid nails; they loosen over time due to temperature swings and water weight.
Step 1: Plan the System & Measure Your Roofline
Before you cut or drill anything, start by evaluating your roof layout. Identify the total linear footage for gutters and determine where downspouts should go. Water naturally flows to the lowest point, so use that logic to decide ideal drainage spots. Measure the fascia board length with precision.
Step 2: Establish a Proper Slope
Once you know your lengths, it’s time to create a slope that ensures water flows toward the downspouts. Use a chalk line to mark a drop of ¼ inch for every 10 feet. This simple but vital measurement determines whether your gutters will drain or pool.
Step 3: Inspect and Prepare the Fascia Board
With your slope line in place, inspect the fascia (the wooden board beneath the edge of your roof). It must be solid and rot-free since the entire gutter system anchors to it. Replace any damaged sections now; it’s harder to correct this later.
Step 4: Mark and Pre-Drill for Gutter Hangers
Using your chalk line as a guide, mark where each gutter hanger or bracket will be installed. These will bear the system’s full weight when loaded with rainwater. Space them evenly, every 24 to 36 inches, and drill pilot holes to make the next step smoother.
Step 5: Cut Gutter Sections to Match Your Layout
Now that your support system is planned, cut your gutter lengths to match each section of your roof. Dry-fit them on the ground first, accounting for corners, joins, and overlaps. You should also prepare end caps and outlets during this stage.
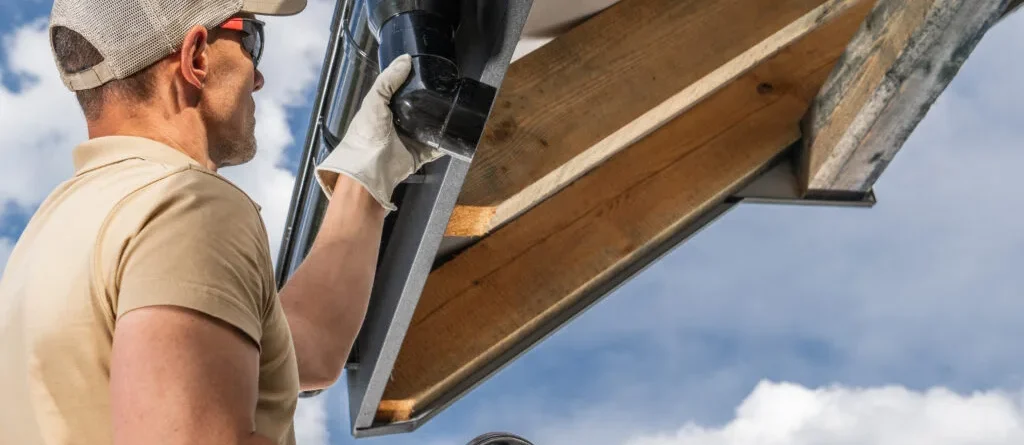
Step 6: Attach End Caps and Downspout Outlets
Seal both ends of each gutter run by installing end caps with a weather-resistant gutter sealant. When you plan your downspouts, cut holes for the outlet fittings and attach them firmly. Water will exit through these, so alignment and sealing matter here.
Step 7: Join Multiple Gutter Sections (If Needed)
Long rooflines often require multiple gutter sections. Overlap sections by 2 to 4 inches and seal the seam. Always ensure the overlap leads downhill to guide water smoothly, not trap it. This keeps the joints leak-free and structurally secure.
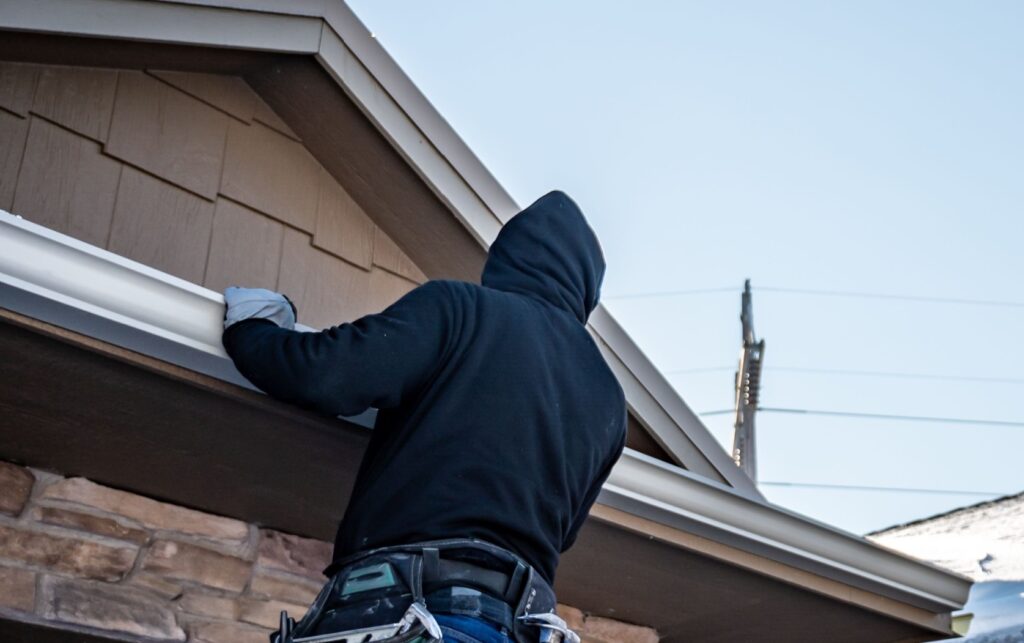
Step 8: Install the Gutter Hangers and Secure to Fascia
With your gutters prepped, go back to your pilot holes and begin attaching the gutter hangers. These support the gutter from underneath or inside (depending on the type). Keep everything aligned with the slope, and check your line frequently as you go.
Step 9: Mount the Gutter Sections into Hangers
Now lift each gutter section into place and fasten it into the installed hangers. Start from the high end of your slope and work toward the downspout end. This order helps maintain alignment and control any adjustments during mounting.
Step 10: Assemble and Attach the Downspouts
With gutters installed, connect the outlet fittings to elbows and downspout tubing. Route the downspouts along the wall using brackets every 4–5 feet. Add elbows at the base to direct water away from your home’s foundation.
Step 11: Seal All Joints and Conduct a Water Test
Apply gutter sealant at all seams, corners, and outlet points. After it cures, flush the system with water from a hose to check for proper flow and any leaks. Look closely at joints and outlets; this is your final chance to fix problems before the system goes live.
Step 12: Clean Up and Add Finishing Touches
Remove any metal shavings, leftover screws, or debris. Secure splash blocks or drainage extensions at the bottom of each downspout to direct water safely away. Then stand back and check everything, clean lines, solid flow, and a tidy, functional install.
Expert Tips From the Roofer
● Avoid Nails: Always use screws. Nails loosen over time, especially with heavy rainfall or snow accumulation.
● Install Gutter Guards: They reduce debris buildup and can double the lifespan of your gutter system with proper maintenance.
● Account for Expansion: Always leave 1/8″ per 10 feet of space at joints to accommodate temperature shifts.
Who to Call for Professional Gutter Installation
If you’re looking for high-quality gutter installation without the guesswork, it’s time to call the professionals. At Procraft Home Products, we’ve helped homeowners across Toledo protect their properties from costly water damage with durable, precision-installed gutter systems. We don’t take shortcuts, and we treat your home as if it were our own.
Frequently Asked Questions
Q: How long do gutters typically last?
Most aluminium gutter systems last 20 to 30 years with proper maintenance. Copper can last over 50 years.
Q: Can I install gutters without a slope?
No. Gutters without slope will cause water to pool and overflow. A consistent ¼ inch drop every 10 feet is essential.
Q: How far should downspouts be from the foundation?
Downspouts should extend at least 3 to 5 feet from the home to prevent water from saturating the soil near the foundation.
Q: Is DIY gutter installation safe?
It can be, but only with the proper equipment and knowledge. Most injuries occur due to falls from ladders or improper handling of sharp materials.
Q: How often should gutters be cleaned?
At least twice a year, in spring and fall. More often, if you live near trees or experience heavy storms.


Leave a Reply